BIOBLACK Mobile Application User Guide
18 June 2026

18 June 2026
This system has been developed with a citizen science approach to encourage public participation in marine research and to increase awareness regarding Black Sea biodiversity. Users can contribute data by sharing their observations of marine life along with location information via the mobile application or website. To ensure scientific accuracy, all submitted data is reviewed and approved by experts before being published.
To install the mobile application on your device, search for the Bioblack app in the Play Store or App Store, then download and install it.
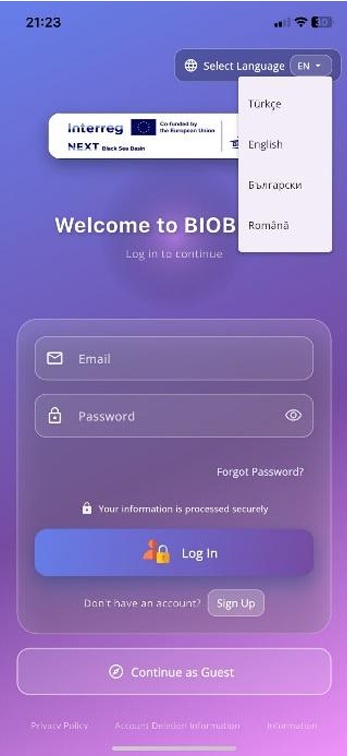
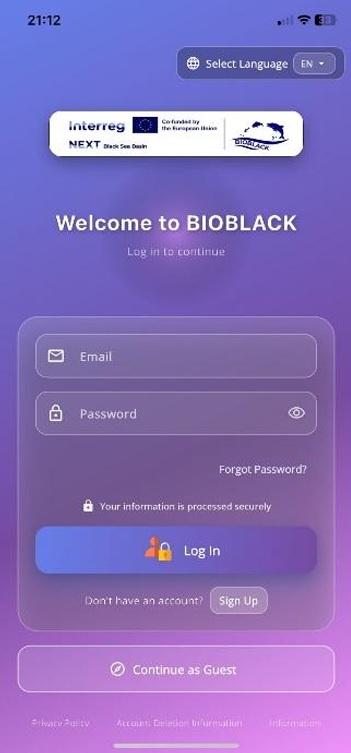
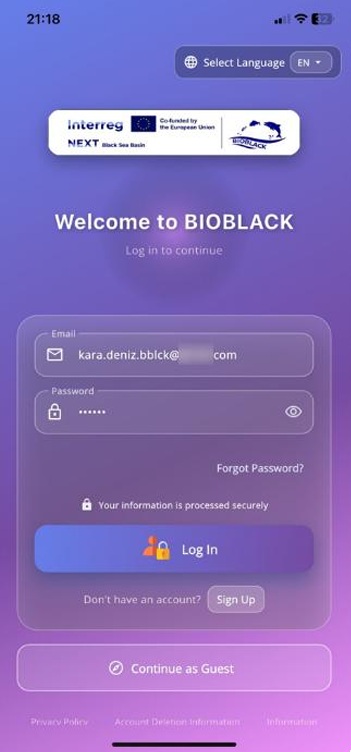
Locate and open the installed application on your home screen. The welcome screen (as seen in Figure 1) directs users to the login, registration, and language selection processes. To navigate the app without registering, the "Continue Without Registering" button at the bottom of the screen allows the app to be used in Guest Mode.
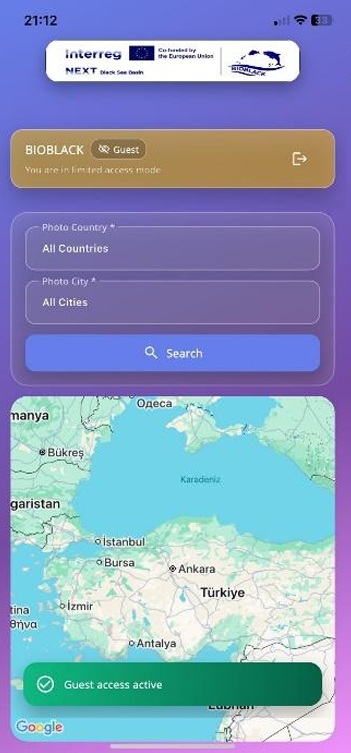
This mode is used when users prefer to continue without creating an account. In this mode, only the approved photos added by registered users can be viewed. Regional searches can be performed using the filtering feature.
This is the screen where users who wish to register enter their information. A user profile is created by recording the user's email, password, and participating country.
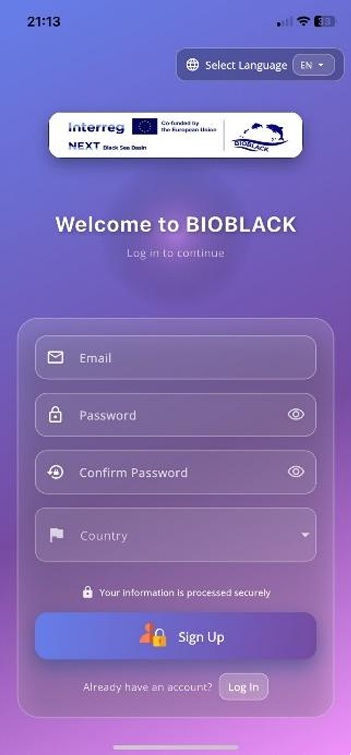
When the "Register" button is pressed, a confirmation email is sent to the user's email address in the background. Once the activation process is completed, the user becomes active.
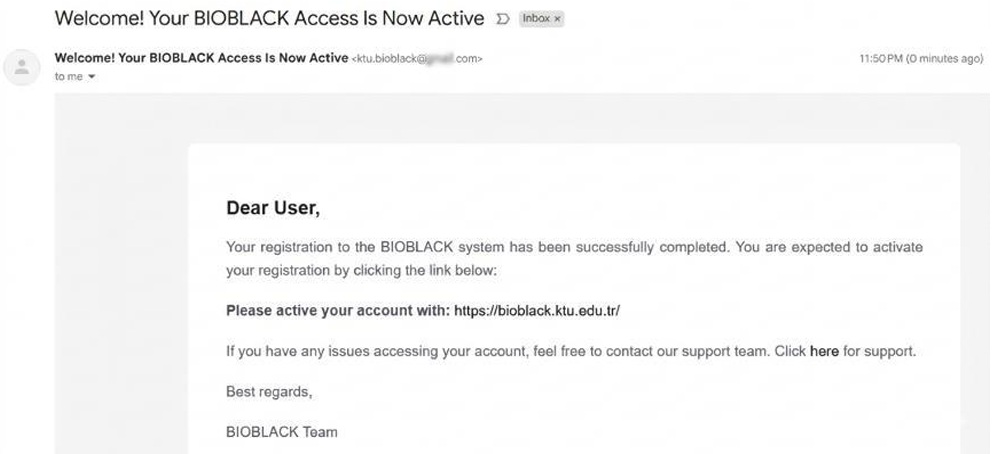
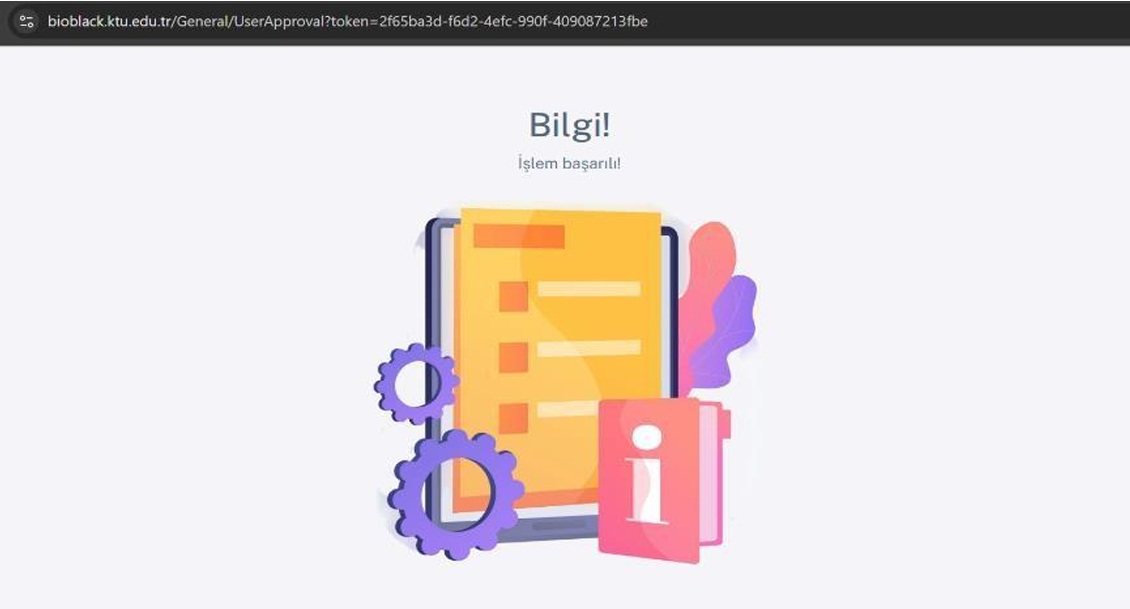
At this stage, the user can return to the welcome screen and log in as an active user with their credentials.
Once the login process is completed via the "Login" button, the application automatically redirects the user to the main screen with a "Login Successful" notification.
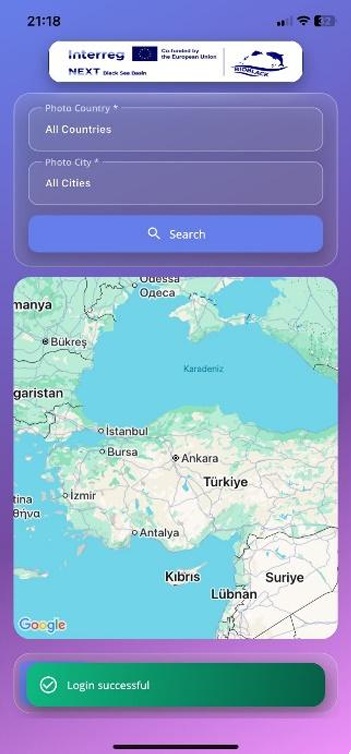
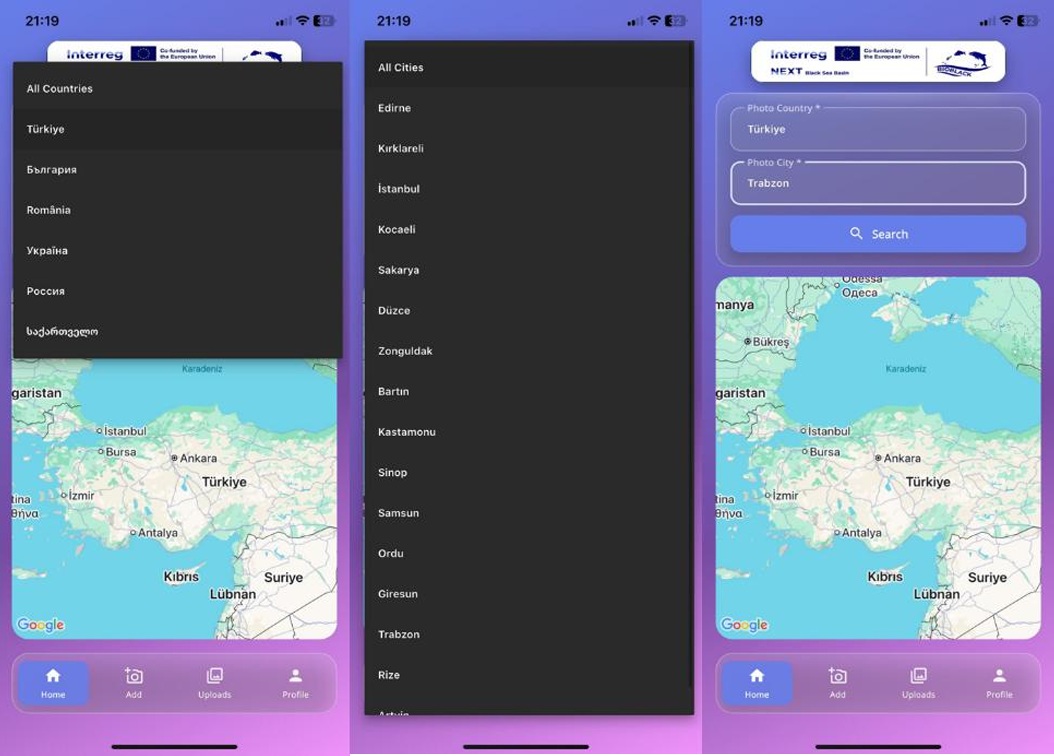
After logging in, the user is greeted by a map and filtering elements on the home page. The map will initially appear empty. When the "Get Photos" button is pressed, approved fish images added by other users will appear pinned on the map.

Filtering tools can be used to display photos from specific areas based on Country and City titles.
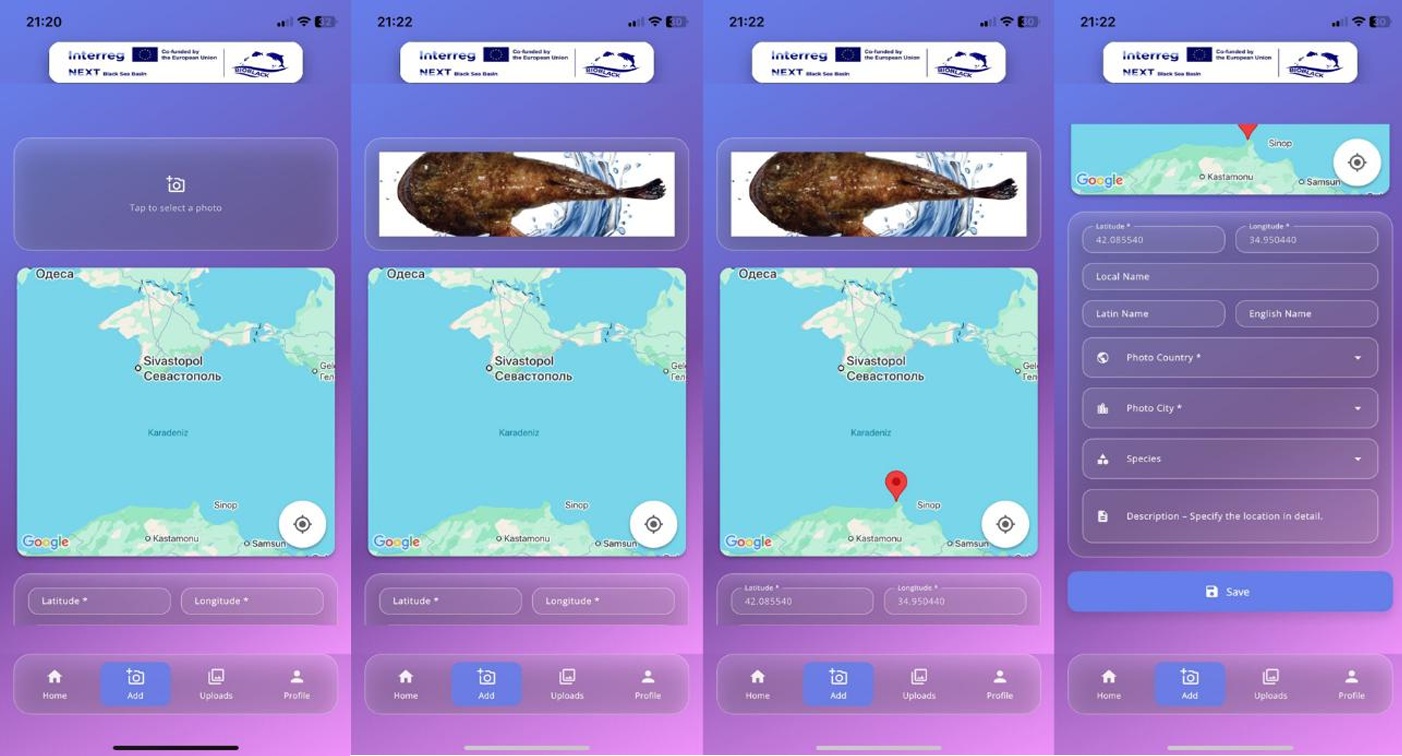
To add photos they have taken, users select the "Add" button from the bottom navigation bar. Upon reaching the Add screen, the user clicks the "Tap to add photo" button and selects an image from their photo gallery. Once the selected photo appears in the app, a pin is placed on the map indicating the location where the image was taken. After entering other details regarding the photo, the "Save" button is pressed. At this stage, the saved photo is sent for expert approval.
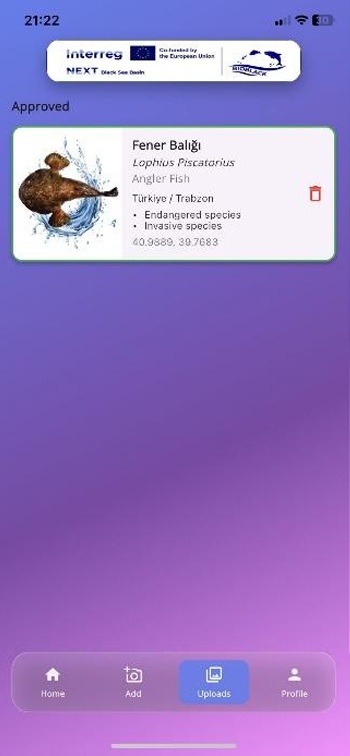
Users can view the photos they have uploaded on this screen. Photos are grouped under the headings "Approved", "Rejected", and "Pending". While tracking the approval status of their photos, users also have the option to delete the photos they have added.
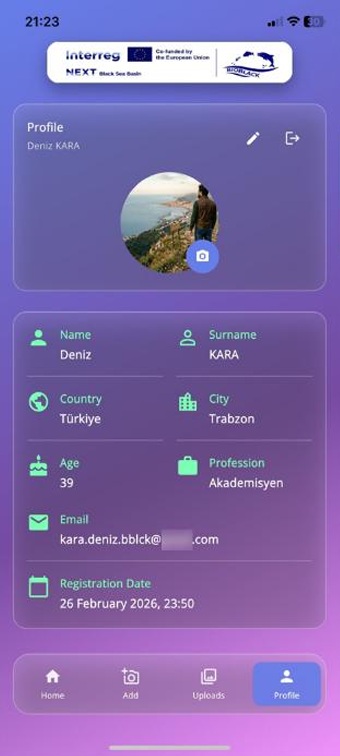
To reach the screen where users can edit their profile information and add a profile picture, the "Profile" button on the bottom bar is pressed. Here, the user can enter their "First Name", "Last Name", "Country", "City", "Age", and "Occupation" information.
If a user wishes to continue using the application in a different language, they must log out from the "Profile" screen to return to the welcome screen. They can then select their desired language from the top right corner of the screen and log back in to continue.